
Installing a top loading container liner looks straightforward: unroll, attach, and fill. But I’ve reviewed enough cargo damage reports to know that most in-transit liner failures trace back to setup shortcuts that take under five minutes to correct. When a liner tears mid-ocean, the claim investigation almost always finds the same root cause — insufficient tension during installation or a mismatch between the liner material and the loading equipment’s discharge rate. Getting this right protects your cargo, keeps dust contained, and avoids the kind of supply chain disruption that no freight forwarder wants to explain to their client.
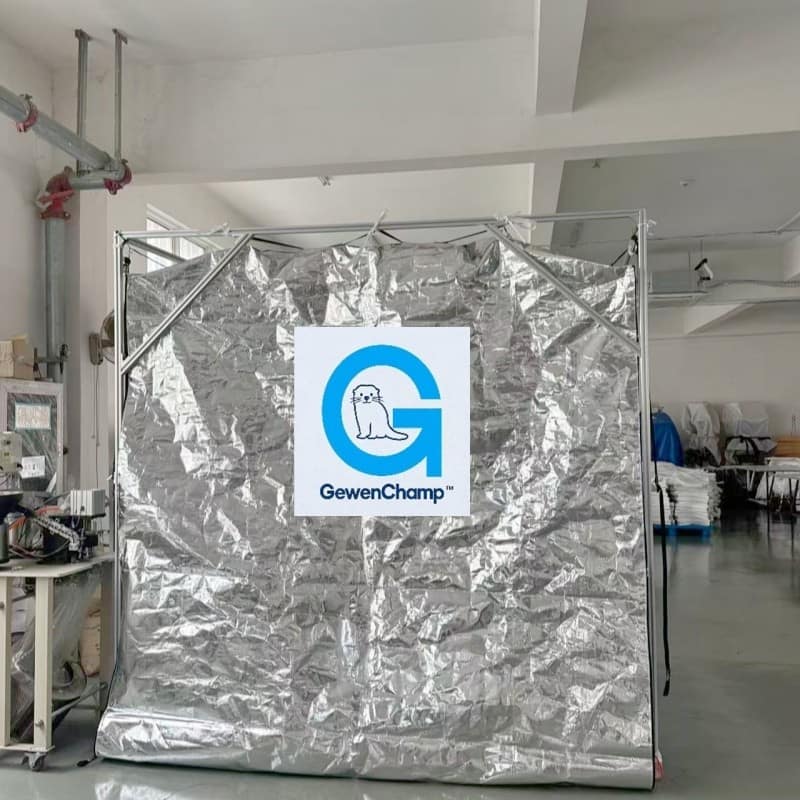
How to Prepare for Top Loading Container Liner Installation
Before the liner comes out of the package, three preparation steps determine whether the loading goes smoothly or becomes a problem. First, inspect the container interior thoroughly. Run your hand along the walls and floor — I’ve seen crews miss a nail head or metal burr from a previous repair that later punctures a 140-micron PE film liner under 20 tons of load. Wooden flooring needs special attention: check for loose splinters or protruding nail heads, and if you find anything, either repair it or, for food-grade loads, insist on a container with factory-installed lining panels. The container must be bone-dry; residual moisture from a previous wash cycle causes liner condensation against the container wall and leads to cargo clumping.
Second, verify the liner specification matches both the container dimensions and your loading method. A 20ft container liner designed for bottom discharge with a side-loading spout will not work for top loading through a 25cm diameter auger fill pipe. Our GewenChamp DBL-W01 standard woven liner comes with a top loading spout as standard, but we routinely adjust spout length and diameter based on the customer’s loading equipment. If you’re using pneumatic filling, the spout connection must be airtight — a loose fit here causes dust clouds that create both a health hazard and product loss.
Third, confirm the liner material grade against your cargo. Food-grade PE film liners like our DBL-F01 carry FDA certification, but certification is only part of the story. For malt, we use a double-sided LDPE lamination on a woven substrate (DBL-W02) because malt requires 100% odor barrier in addition to moisture protection. For powdered chemicals, a standard uncoated liner will leak fines through the seams. In those applications, the DBL-W06 sift-proof liner with PU tape-sealed seams is mandatory.
The Top Loading Container Liner Installation Sequence
With the container prepared, the installation follows a specific order. Skipping steps or doing them out of sequence costs time and increases the risk of a bad install.
Unfold the liner inside the container and orient it so the top loading spout aligns with your filling equipment’s discharge point. The spout should face the container door opening unless you’re using a wall-side filling port. Lay the liner flat along the container floor and extend it fully rearward — do not attempt to install from the front backward, because that traps air pockets.
Anchor the liner base first. Our liners include pre-attached straps or bulkhead loops; secure these to the container lashing rings at floor level. Pull the liner taut from the rear corners forward. I’ve watched crews skip this step and then wonder why the liner crept forward during filling, pulling the spout out of alignment.
Raise the liner walls. This is where top loading differs from side loading: the liner walls must be fully extended upward and secured at all available container lashing points before you start filling. We recommend starting from the rear corners and working forward; use every available lashing ring, not just every other one. An under-secured liner wall will fold inward under the weight of bulk material, creating a loading choke point and stressing the seams.
Attach the filling spout to your loading equipment. For auger or gravity-fed systems, clamp the spout securely. For pneumatic systems, use a clamped hose connection and verify the clamp seal before engaging the blower. A partially attached spout under pneumatic pressure can blow off, covering the loading area in product. The spout should point slightly downward into the liner interior, not horizontally, to direct the product stream toward the liner floor rather than the far wall.
Begin filling slowly. The first 10–20% of the load should enter at reduced flow rate to allow the liner to settle and the walls to tighten uniformly. After that, increase to full flow but keep monitoring the liner walls. If you see any wall panel pulling away from the container side, stop and re-secure.
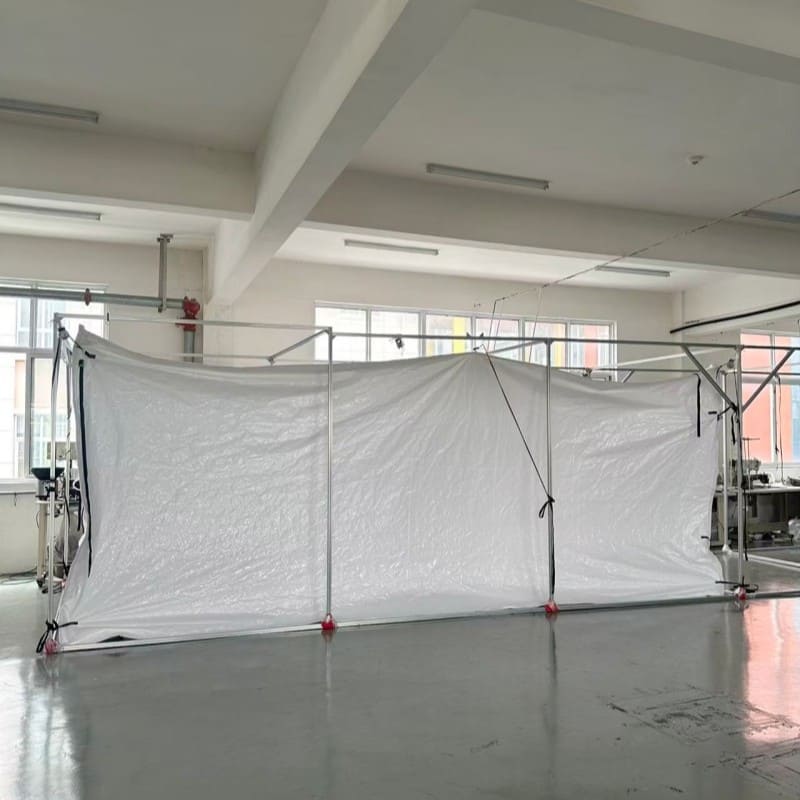
- Once the fill reaches approximately 70–80% of target volume, reduce flow again. The top portion of the liner needs to remain loose enough to close the spout opening and secure the top seal. Overfilling a top loading liner until it’s drum-tight leaves no material for the final closure and places excessive tension on the spout seal.
Matching the Setup to Your Bulk Material
Not all bulk materials behave the same inside a liner during top loading. The setup you use for plastic pellets will fail with fine powder, and the approach that works for granular sugar will not work for TiO₂.
For free-flowing granules (resin pellets, whole grains, granular fertilizer), a standard PE film liner or uncoated woven liner works reliably. The material flows smoothly, packs evenly, and exerts predictable wall pressure. With these cargoes, the main concern is preventing the liner from shifting; use all lashing points and maintain tension.
For semi-free-flowing powders (flour, starch, ground limestone), the filling process introduces more air entrainment. The liner needs to breathe or the trapped air cannot escape, causing the liner to balloon and stress the seams. On our woven liners, the fabric itself provides breathability, but for coated liners, you must install a ventilation panel or a filtered vent at the top of the liner. Without venting, I’ve seen liners burst at the seams during loading, not at sea.
For cohesive, sticky powders (titanium dioxide, carbon black, fine clays), two additional steps become critical. First, static electricity buildup during top loading can reach levels that cause sparking and product adhesion to the liner walls. Anti-static liners or static-dissipative additives are mandatory here. Second, the loading rate must be slower than for granular materials to allow the product to settle without bridging. A bridging event — where powder forms an arch inside the liner — stops the flow and creates an air pocket that later collapses and tears the liner during transport.
| Cargo Type | Recommended Liner | Key Setup Consideration |
|---|---|---|
| Free-flowing granules | DBL-W01 woven or DBL-F01 PE film | Standard tension, full lashing points |
| Semi-free-flowing powder | DBL-W01 with vent panel or DBL-F01 with filtered vent | Ventilation to release entrained air |
| Cohesive fine powder | DBL-W06 sift-proof with anti-static treatment | Slow fill rate, anti-static, seam sealing |
| Food-grade malt/grain | DBL-W02 malt-grade woven laminated | Double lamination for odor/moisture barrier |
The liner material matters just as much. A 140-gsm woven PE liner from our standard DBL-W01 series holds 25 tons of granular resin without issue, but the same liner used with 20 tons of dense mineral powder may exceed its seam shear strength if the powder is not settled after loading. We recommend checking the liner’s rated load per seam and cross-referencing with your cargo’s bulk density.
If your program involves cohesive powders or food-grade export with strict contamination controls, it’s worth confirming the liner’s anti-static rating and food-contact certification before finalizing your purchase order. A direct conversation with the manufacturer about your specific powder characteristics avoids expensive cargo rejection at destination.
Setup Mistakes That Lead to In-Transit Liner Failure
From our manufacturing and aftermarket support data, the three most common failures we see with top loading liners all trace back to installation errors, not material defects.
The number one failure mode is liner tearing at the top spout attachment. This almost always happens because the spout was pulled too far into the liner body during setup, creating a tension point where the flexible spout meets the rigid liner wall. During transit vibration, that tension point acts like a hangnail — eventually tearing outward. The fix is to keep the spout attachment flush with the liner wall and use the external clamp to bear the filling load, not the fabric seam.
Second is liner creep and wall collapse. When the liner walls are under-secured, they walk forward inch by inch with every vehicle brake application or rail hump. By the time the container reaches port, the liner has bunched at the front, leaving cargo exposed against the bare container wall at the rear. Moisture wicks in, condensation forms, and suddenly a dry cargo shipment has a moisture damage claim. The solution is not just more lashing points — it’s checking tension after loading, because the liner fabric relaxes under load. We train crews to re-tension all lashings 15 minutes after fill completion.
Third is dust leakage through sewn seams in applications that require sift-proof liners. A standard lock-stitch seam on an uncoated woven liner will pass fine powder particles under static grain pressure. For any cargo with particles below 50 mesh, you need either a heat-welded seamless liner or PU tape-sealed seams like our DBL-W06. This is not a matter of better quality sewing — it’s a fundamental limitation of the stitch hole.
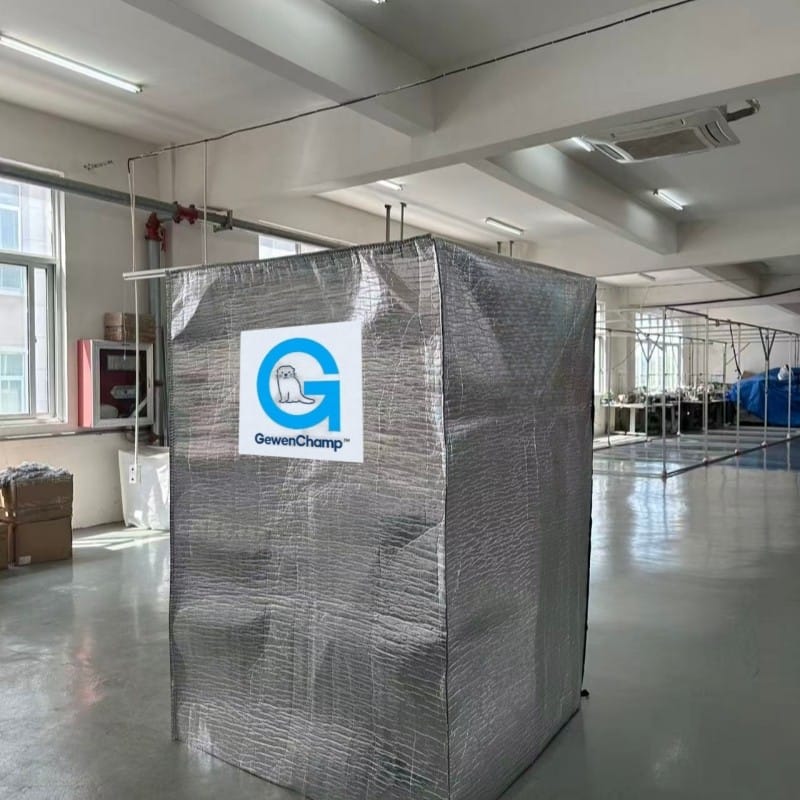
Post-Loading Checks: Securing and Ventilation
When the container is filled and the spout is sealed, the setup isn’t finished. The final checks take ten minutes and make the difference between a clean unloading and a cargo surveyor’s report.
First, close the top loading spout properly. Double-fold the spout end and secure with the provided tie, then tuck the folded spout inside the liner. Do not leave the spout hanging outside the liner top — during transport, the container can reach 60°C internally, and polyethylene spout material softens enough to deform and unseal under vibration.
Second, verify all lashing straps are still tight. Walk the length of the container and pull each strap — if any have loosened, re-tension. Loose straps equal liner movement, and liner movement equals cargo loss.
Third, check that ventilation openings (if installed) are unobstructed by the liner fabric or cargo. A blocked vent turns the container into a sealed pressure vessel during temperature cycling; the resulting pressure differential can rupture the liner seams from the inside.
Fourth, install the bulkhead or door retainer bars if your setup uses them. The liner must not press against the container doors directly — a small crease caught between the door and door seal becomes a moisture entry point. The bulkhead holds the liner a few inches clear of the doors.
Close the container doors slowly, watching for any liner material that might get pinched. If the liner bulges out and catches in the door seal, reopen, push the liner back, and close again.
Common Questions About Top Loading Container Liner Setup
Can a top loading container liner be reused?
It depends on the cargo and unloading method. PE film liners are single-use — they tear during discharge because the film cannot be separated cleanly from the cargo. Woven PE liners can sometimes be reused if the cargo is dry and non-abrasive (like plastic pellets) and the discharge is gravity-only without sharp tools. Even then, expect the seam integrity to degrade after each use. We do not recommend reuse for food-grade or high-value cargo; the trace contamination risk outweighs any liner cost savings. If your operation is exploring reusable liner options, we can run a cost model based on your annual volumes.
What liner thickness should I use for top loading powders?
Thickness alone is not the deciding factor. A 140-micron PE film handles most non-abrasive powders, but if the powder has angular particles (like ground silica), the film abrades from the inside during vibration. In those cases, switch to a woven PE liner with a higher abrasion resistance even if the thickness is similar. The more important specification for powders is seam construction: for particles below 50 mesh, use PU-taped or heat-welded seams. For powders below 100 mesh, heat-welded seamless liners are the only reliable option. Share your particle size distribution with the liner manufacturer to get a specific recommendation.
Does top loading create more dust than bottom loading?
Yes, inherently, because the product drop height into an empty container is greater. However, the liner’s spout design and the filling equipment’s dust suppression determine the actual dust level. A well-sealed spout connection to the loading chute, combined with a dust collection hood at the spout point, contains most airborne fines. For extremely dusty products, we configure top loading liners with a secondary dust extraction port that connects to a mobile dust collector. The liner does not eliminate dust — it contains it, and the containment is only as good as your spout seal.
How do I prevent static buildup during top loading?
Static is product-dependent. Non-conductive powders (plastic resins, organic flours) generate significant static during high-rate top loading. The liner material itself must provide a dissipation path. Our anti-static liners incorporate a conductive carbon-loaded PE layer that brings surface resistivity down to 10^6–10^9 ohms/sq, allowing charge to bleed to the grounded container structure. You must also ground the container itself and the filling equipment to a common earth point. If the liner is not anti-static, no amount of external grounding will help — the charge stays inside the liner until it finds a path, and that path is often the operator.
How long should a top loading container liner installation take?
A two-person crew with experience should complete a standard 20ft top loading liner installation in 15–20 minutes from unpacking to ready-to-fill. A 40ft liner takes 25–30 minutes. First-time crews will take double that. If it takes longer, something is off: either the liner is the wrong size, the container has obstacles, or the crew is working without a defined sequence. We provide installation training materials with every first order, and our technical team can walk a loading supervisor through the process remotely if needed. Describe your loading dock setup and cargo type, and we’ll send a tailored installation guide before your first shipment.
If your next shipment involves a new cargo type or loading equipment change, even a 15-minute call with a liner manufacturer can prevent a cargo claim that costs ten times the liner price. Send your cargo specifications and loading method to [email protected], or call +86 523 87683880. We’ll recommend the specific liner configuration and setup procedure that matches your vessel, your product, and your discharge destination.
 English
  German
  Spanish