
A container liner’s value on a tropical sea freight route is decided before the doors close. On shipments crossing the equatorial Atlantic or Southeast Asian monsoon corridors, the difference between a properly installed moisture-blocking liner and a generic liner is the difference between dry cargo and a claim. I have seen container rain destroy a shipment of food-grade powder in under 96 hours, simply because condensation was treated as an afterthought rather than the primary design constraint. This article explains how to set up container liners for high-humidity shipping routes, focusing on liner selection, installation that creates a true moisture barrier, and complementary practices that prevent condensation from compromising the load.
How Moisture Threatens Cargo on Humid Routes
The core threat is not ambient humidity but the cycle of temperature-driven condensation. Inside a steel container on a tropical route, daytime heat forces the air to hold more water vapor. At night the container shell cools and reaches dew point, and water forms on inner walls and ceiling. This is container rain. Without a barrier, droplets fall onto the cargo, causing caking, mold, oxidation, or product degradation. For powder cargoes like kaolin clay or titanium dioxide, even moderate condensation can cause caking that renders the shipment off-spec. For food-grade cargoes, the resulting mold can trigger a full rejection.
The same cycle affects temperature-sensitive goods, where the temperature swing itself damages product integrity. A cocoa bean shipment that passes through 35°C days and 22°C nights experiences enough thermal stress to trigger fat bloom. The liner must do two things: stop water vapor from reaching the cargo, and moderate temperature swings that drive condensation.
Selecting a Liner That Functions as a Moisture Barrier
Not every container liner is a moisture barrier. A basic breathable woven PP liner provides adequate load containment on dry routes but allows water vapor transmission rates high enough to let humidity affect the cargo over weeks at sea. For high-humidity routes, select a liner with a defined moisture vapor transmission rate and, ideally, thermal insulation to reduce temperature swings.
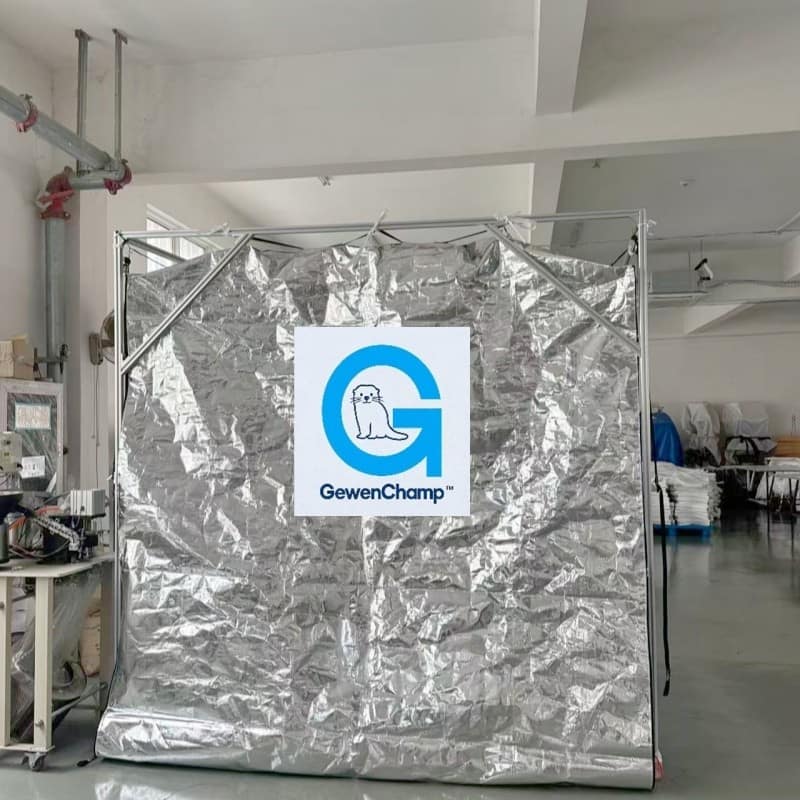
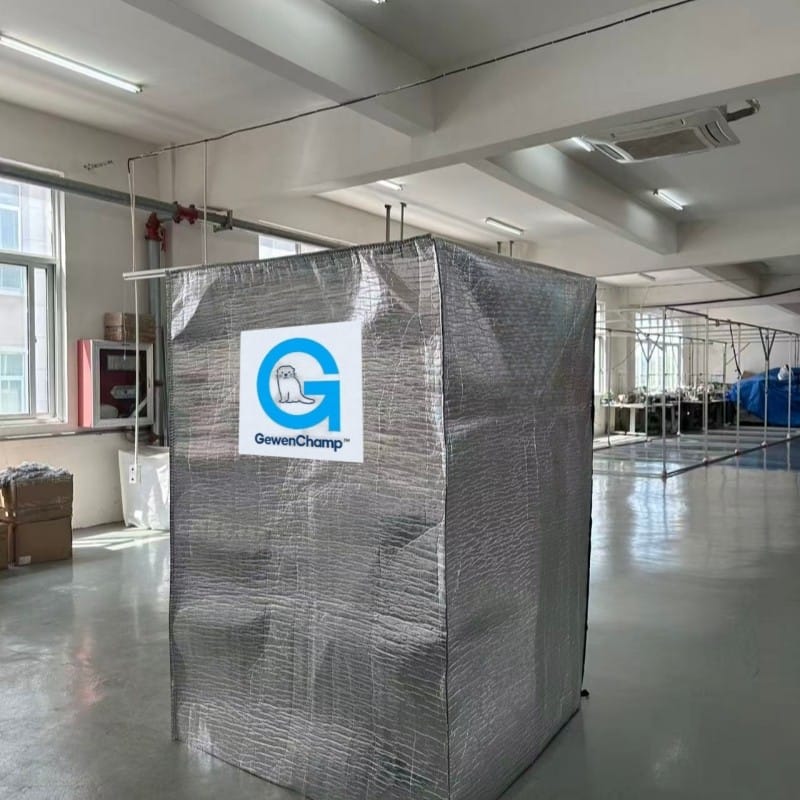
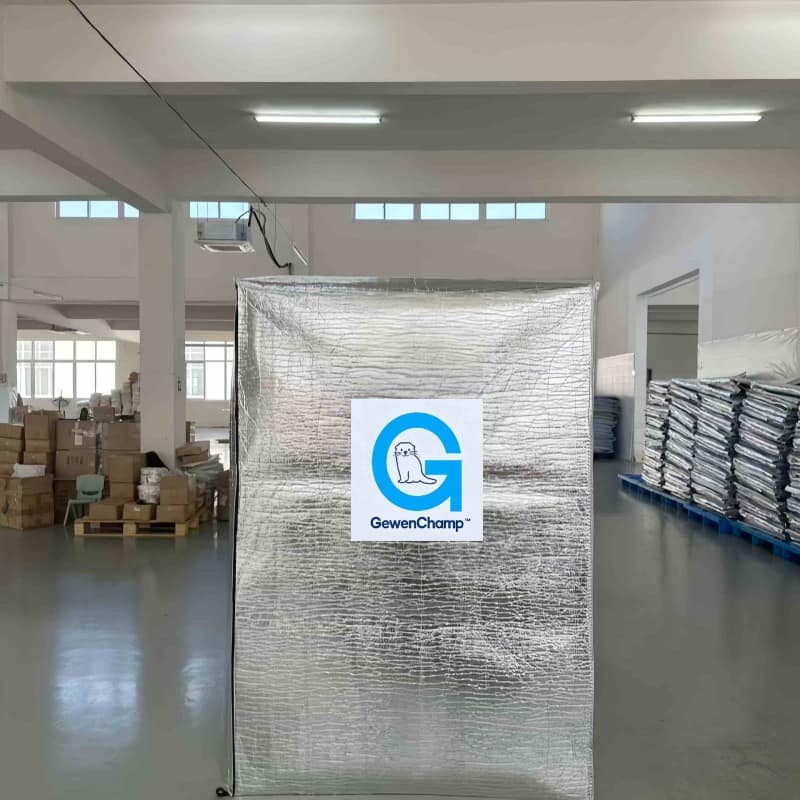
In the GewenChamp™ series, the TL-02 thermal container liner is designed specifically for this dual requirement. Its four-layer structure combines outer PET aluminum foil, a woven PE strength layer, a 3mm EPE foam core, and an inner PET aluminum foil layer. The aluminum foil reflects 95–97% of radiant heat, while the EPE foam reduces conductive and convective heat transfer with thermal conductivity ≤0.038 W/(m·K). The critical moisture specification is a moisture vapor transmission rate ≤0.033 g/(m²·h·kPa), which effectively blocks container condensation. For cargoes that demand a lighter solution but still require moisture control, the TL-03 MPET/Double Bubble/MPET liner offers a double-layer air-cushion core and outer MPET layers that reflect up to 98% of radiant heat while maintaining a sealed moisture and dust barrier. I have recommended the TL-03 for resin shipments where weight is a concern and the protection against condensation in port storage is as important as during ocean transit.
When food-grade certification is required, verify that the liner carries FDA or LFGB certification, because the moisture barrier layer is in direct contact with the cargo. Giant Flexpack’s TL-02 and TL-03 are both certified to FDA and LFGB, which means the aluminum foil and MPET layers meet food-contact standards.
Installing the Liner to Create a Sealed Envelope
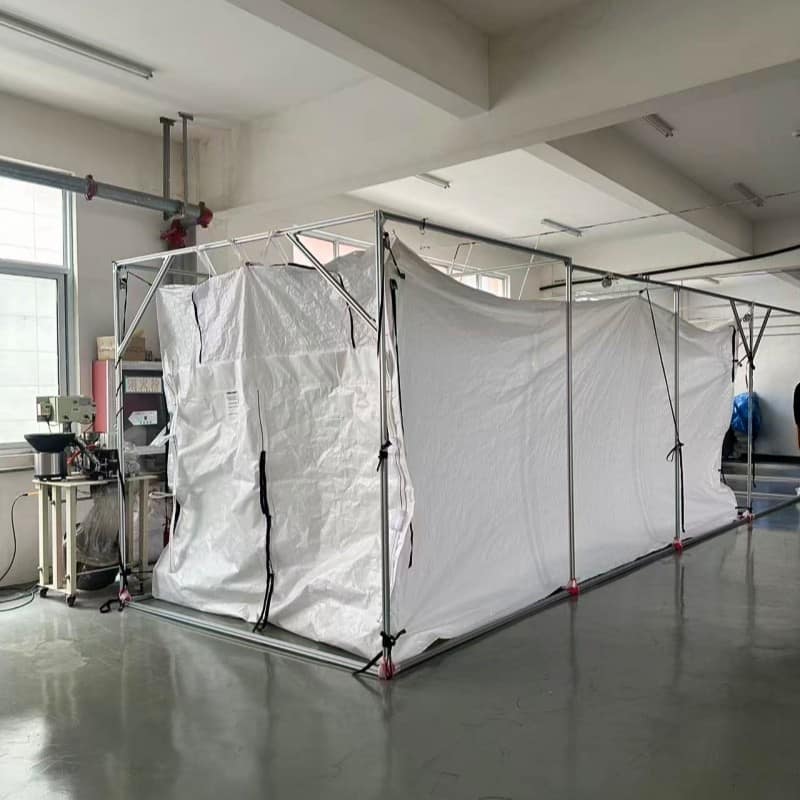
A liner with a 0.033 g/(m²·h·kPa) moisture vapor transmission rate becomes ineffective if gaps allow moist air to flow directly into the cargo space. Installation must produce a sealed six-wall envelope. After positioning the liner inside the container, unfold it fully and secure all four top corners, side walls, and the floor section. Use reinforced eyelets and adjustable straps to keep the liner tight against the container walls, preventing sagging that could trap condensation against the cargo.
The loading spout must be sealed after filling. On high-humidity routes, even a partially open spout acts as a moisture inlet, especially during nighttime when the container interior pressure drops and pulls in ambient humid air. After loading and before closing the container doors, perform a visual inspection: check that there are no gaps larger than 2cm between the liner and the container door frame, and that the floor section covers the entire container floor without folds that could channel condensation inward.
Supplementary Measures to Stabilize the Internal Environment
Even with a sealed moisture-blocking liner, it is worth adding a targeted desiccant strategy. Place desiccant pouches or poles inside the liner enclosure to absorb residual moisture introduced during loading. For a 40ft container on a route where dew point is expected to be crossed daily, I typically recommend a total desiccant capacity of 12–15kg of silica gel, distributed along the walls and near the ceiling to intercept moisture before it condenses. If the cargo itself has a moisture content above acceptable limits at loading, desiccants alone cannot compensate; the liner’s moisture barrier will slow the moisture migration into the air space, but the cargo quality at loading remains the foundation.
Temperature monitoring provides the data to confirm the setup. Place a data logger with humidity and temperature sensors inside the liner near the center of the cargo mass and another between the liner and the container wall. When the container arrives, the differential between the two loggers tells you whether the liner maintained a separate microclimate. In one shipment of PVC resin from Shanghai to Santos, we recorded a peak external temperature of 44°C and a peak internal temperature of 32°C with a TL-02 liner, with the internal relative humidity staying below 55% throughout, while the ambient container atmosphere reached 95% RH and 38°C dew point on multiple nights.
If your shipment involves a product with strict shelf-life sensitivity, such as milk powder or malt, pairing the thermal liner with a passive cold chain approach, where pre-chilled product and a thermal barrier work together, can eliminate the need for reefer containers on routes up to three weeks. This setup requires confirming the product’s initial temperature, the thermal liner’s R-value, and the expected diurnal temperature range. Reach out at [email protected] to run a specific route analysis.
What Shippers Often Overlook Before Dispatch
The best liner installation fails if the container itself has a leak. Before installing the liner, check the container for light ingress through gaskets, rust holes, or door seal damage. In a recent pre-shipment inspection, we found that a container scheduled for a cocoa bean shipment to Hamburg had a 3cm gasket tear that would have allowed salt-laden Atlantic air to bypass the liner entirely. The simplest test is to seal the container and have someone shine a bright light around the door perimeter while another person looks from inside; any visible light is a moisture entry point.
Another overlooked step is the loading procedure itself. High-humidity tropical air drawn into the container during loading can raise the initial dew point inside the liner. Whenever possible, load under roof, or in the early morning when ambient humidity is lower. The loading crew should minimize the time the container doors are open once the liner is in place. These small procedural adjustments prevent the liner from starting its voyage with a moisture handicap.
When the Route Demands the Strongest Protection
For routes known for extreme humidity, such as those passing through the South China Sea monsoon zone or the Gulf of Guinea, the combination of a four-layer thermal container liner with a dedicated desiccant plan is the minimum viable setup. I have seen shippers attempt to save cost by using a single-layer PE film liner with desiccants on such routes, and the result was caked cargo at destination after 18 days at sea. The liner’s moisture vapor transmission rate is the primary defense; desiccants are a complement, not a substitute.
For programs where cargo is loaded at a tropical port and destined for a cold-region port, the temperature gradient creates an added risk: on arrival, the container interior cools, and any residual moisture condenses rapidly. In these cases, ensure that the liner’s insulation layer is rated for the full temperature drop, and that the cargo is unloaded as soon as possible after container opening to prevent the cold container shell from forming condensation inside the liner enclosure.
If your shipping lanes include high-altitude rail segments before sea freight, the thermal liner must also handle the rapid cooling and pressure changes. The TL-02’s 3mm EPE foam core maintains its insulation properties even at lower atmospheric pressure, and the aluminum foil outer layers remain effective at reflecting radiant heat regardless of altitude. For these multi-modal routes, confirm your liner supplier has test data that covers the full transport chain, not just ocean legs.
Stabilizing Bulk Cargo Through Moisture Control
When a container liner is set up correctly for a high-humidity route, the beneficial effect on cargo stability is measurable. In one bulk shipment of sugar from Thailand to West Africa, we recorded less than 0.3% moisture content increase over a 30-day voyage with a TL-02 liner and 13kg of desiccant, while an unprotected test pallet inside the same container showed a 2.4% increase and visible surface dissolution. The same principle applies to sensitive agricultural products like soybeans and coffee beans, where maintaining the original moisture content avoids mold, off-smell, and quality penalties.
The cost of a thermal moisture-blocking liner plus desiccants is typically in the range of 0.8–1.5% of the cargo value for a mid-value bulk commodity, while moisture damage claims often exceed 10% of cargo value. For food-grade and pharmaceutical bulk products, the risk of destruction without insurance coverage makes the decision simpler: the liner is a precondition for shipping on tropical routes. For industrial minerals, the cost-benefit still favors the liner because a caked shipment may require manual breakout at destination at a labor cost that erases the margin. I require our team to present this calculation for any shipment crossing a high-humidity corridor, because the arithmetic consistently favors a purpose-built setup.
Common Questions About Container Liner Moisture Protection
Will any thermal liner block moisture?
No. Thermal liners differ significantly in moisture vapor transmission rate. A pure aluminum foil layer offers near-zero moisture transmission, while basic metallized films have a measurable rate. Always check the manufacturer’s MVTR specification. For high-humidity routes, a figure below 0.05 g/(m²·h·kPa) is a reasonable threshold, though we maintain ≤0.033 g/(m²·h·kPa) on our TL-02 and TL-03 liners.
Can I reuse a liner that has been on a humid route?
It depends on the liner type and the severity of the route. The TL-02 is designed to be reused 3–5 times, provided it is cleaned and checked for tears. However, after a voyage that involved prolonged exposure to salt spray or strong solar radiation, the aluminum foil layers may degrade at a microscopic level, reducing reflectivity. I recommend inspecting the liner in good light and checking the integrity of the sealed seams before reuse. For one-time use, the TL-04 MPET/PE composite film liner is a lighter, lower-cost alternative that still provides a moisture barrier.
How many desiccants do I really need?
The correct amount depends on the cargo moisture content, the container volume, and the route duration. As a starting point, calculate the total moisture to be absorbed based on expected dew point crossings and the air volume, then add a 30% safety margin. For a 40ft container on a 30-day tropical route, 10–15kg of silica gel is a common range. Over-specifying desiccants is less risky than under-specifying, but the liner’s moisture barrier remains the primary protection.
What if my container has a small leak in the door seal?
A leaky door seal will compromise even the best liner setup because moist air can move freely between the liner exterior and the container wall, creating condensation that eventually overwhelms the liner’s moisture vapor transmission capacity. Before installing a liner, every container should pass a light test and a seal compression check. If a leak is found and cannot be repaired, reject the container.
How can I be sure the liner is installed correctly?
We provide step-by-step installation training materials and can send a supervisor to the loading site for first-time applications. The critical checks are: the liner is fully unfolded and taut; the loading spout is sealed; the corner strapping is secure; and the floor section covers the entire container floor without gaps. Send your part number and cargo specifics to [email protected], and I will personally confirm that the liner configuration matches your route, cargo, and container type before you ship. You can also reach us at +86 523 87683880.
 English
  German
  Spanish