
A container liner filling spout is the single point of interface between your loading equipment and the liner, and getting it wrong means product loss, airborne dust, or a torn liner before the container leaves the loading bay. Most installation guides show where the spout goes but skip the part that determines loading success — how to manage the spout during filling. After more than fifteen years manufacturing container liners and observing loading operations across chemical, agricultural, and food-grade supply chains, I have watched the same spout-related failures repeat across industries. The gap between a clean, full load and a damaged liner with product on the ground almost always traces back to how the operator positioned, secured, and controlled the filling spout during those critical minutes.
Why Filling Spout Technique Matters More Than Most Operators Realize
When a container liner filling spout is mishandled during loading, the consequences cascade quickly. A spout that slips out of the loader’s grip under product weight can dump several hundred kilos of material outside the liner in seconds. If the spout is pulled too taut, the tension transfers directly into the liner’s top seam. I have inspected liners where the seam separated cleanly along a 30 cm stretch because the operator had the filling pipe clamped rigidly to the spout with no give. The opposite problem, a spout left too slack, lets product backflow between the spout wall and the filling pipe, packing material into the gap until pressure builds and the spout tears at the throat.
Beyond the immediate product loss, there is the downtime. A torn liner in a half-loaded container means stopping the line, clearing the spilled material, pulling the damaged liner, installing a replacement, and starting over. In operations I have supported, that sequence routinely burns two to three hours of loading time, and the cost of the replacement liner is often the smallest line item in the total incident cost.
Pre-Loading Checks Every Container Liner Filling Spout Needs
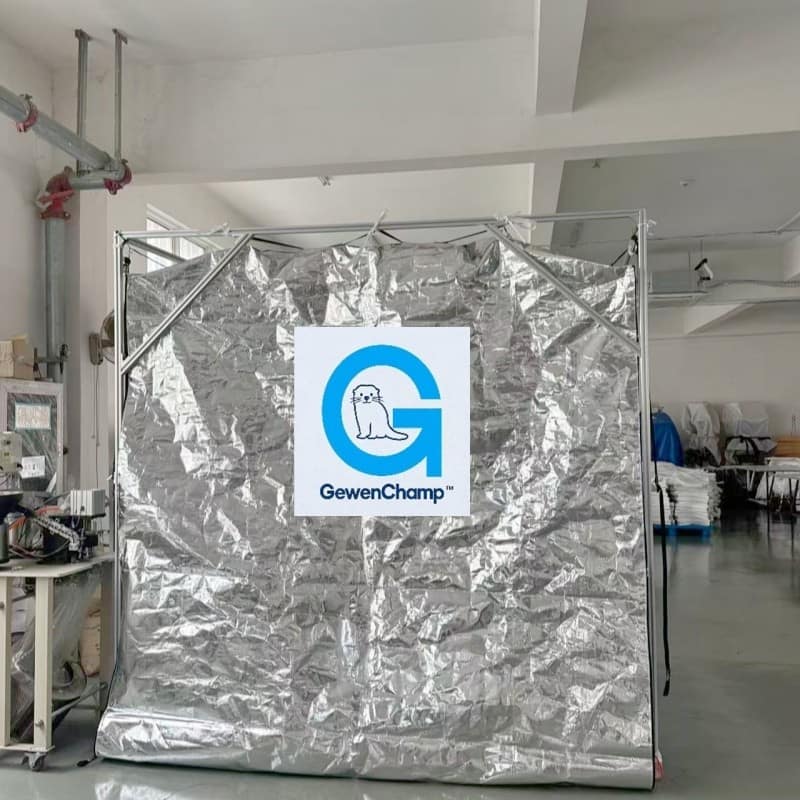
Before any product flows through the filling spout, three checks determine whether the loading will go smoothly or turn into a cleanup operation.
First, inspect the spout seam where it joins the liner body. The heat-welded or sewn seam around the spout throat takes the full dynamic load of product rushing past it at high velocity during pneumatic or auger loading. Look for any pinholes, incomplete welds, or loose stitching. A small defect here becomes a large tear once product weight and flow pressure hit it. On woven liners with sewn spout seams, confirm that the seam tape or PU seal is fully intact with no lifting at the edges.
Second, verify the spout diameter against your loading pipe or nozzle. The spout needs enough clearance to slide over the filling pipe with at least a 3 to 5 cm overlap, but not so much that product can backflow through the gap. For standard container liners with top loading spouts, the spout diameter typically ranges from 25 to 55 cm depending on the cargo type and loading method. A spout that is too narrow will not fit over the pipe. One that is too wide cannot be secured tightly enough to contain fine powders.
Third, position the spout so it hangs naturally without twisting. After the liner is installed inside the container and the top loading spout is pulled through the container’s top hatch or door opening, take thirty seconds to work out any twists or folds in the spout fabric. A twisted spout channels product unevenly and creates stress concentrations that tear fabric under load. The spout should hang in a straight, relaxed line from the liner body to the filling pipe connection point.
Step-by-Step Guide to Using a Container Liner Filling Spout
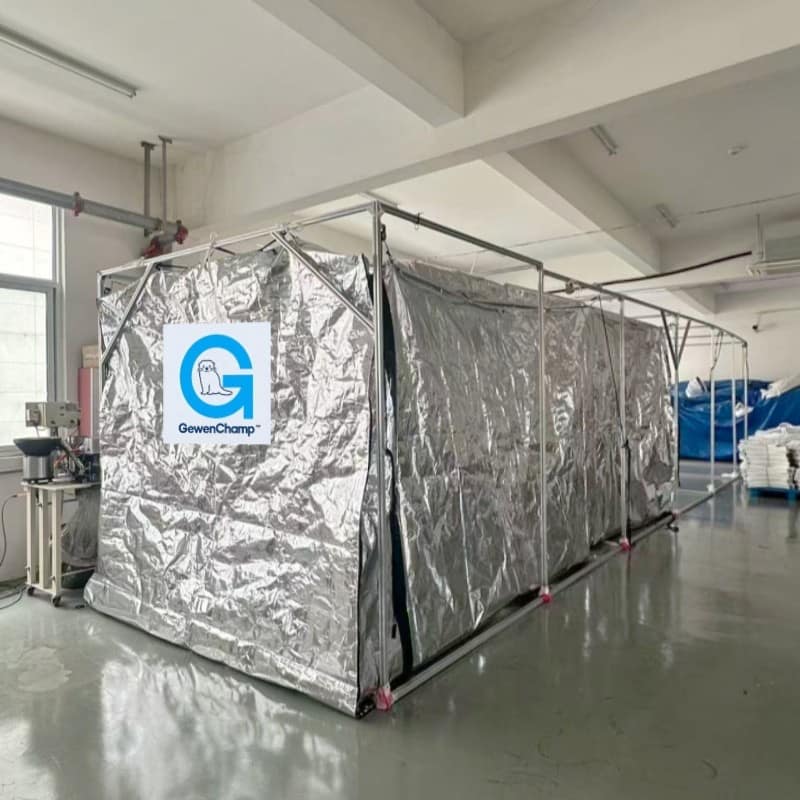
Once the pre-loading checks are done, follow this sequence. I have refined these steps over years of working with operators across different industries, and the order matters.
Secure the filling pipe to the spout before starting product flow. Slide the spout over the pipe end with enough overlap that you can fasten it securely. Use the liner’s integrated tie cords or a heavy-duty cargo strap to cinch the spout around the pipe, but do not overtighten. The connection needs to hold without constricting the pipe opening. On pneumatic loading systems, leave a small air relief gap — roughly 1 to 2 cm — between the spout fabric and the pipe on the upper side. Without this gap, the liner pressurizes and the spout can blow off the pipe mid-load, which I have seen happen more often than most operators would admit.
Start product flow at reduced speed for the first 10 to 15 seconds. This lets the liner body settle into the container and the spout fabric stretch to its working tension gradually. Rushing full flow from the first second shocks the spout seams and can tear the fabric at the throat before the liner has even begun to fill.
Monitor the spout angle continuously as the liner fills. As product accumulates inside the liner, the liner body rises and the spout angle changes. The spout should maintain a gentle downward slope from the filling pipe to the liner body throughout the fill. If the angle goes flat or reverses upward, the liner body has risen too high and product will start backing up into the spout. Pause the flow, adjust the liner’s internal positioning if possible, or raise the filling pipe slightly to restore the correct angle.
For liners with multiple filling spouts, close off unused spouts completely before starting. An open secondary spout lets dust escape and breaks the liner’s sealed environment. Use the provided cover caps or tie off the unused spouts tightly.
When the fill is complete, do not yank the spout off the pipe immediately. Let the spout fabric relax for fifteen to thirty seconds after product flow stops. Then loosen the fastening, slide the spout off the pipe smoothly, and seal the spout according to the liner’s closure method — typically a tie-off, heat seal, or cover cap depending on the liner type.
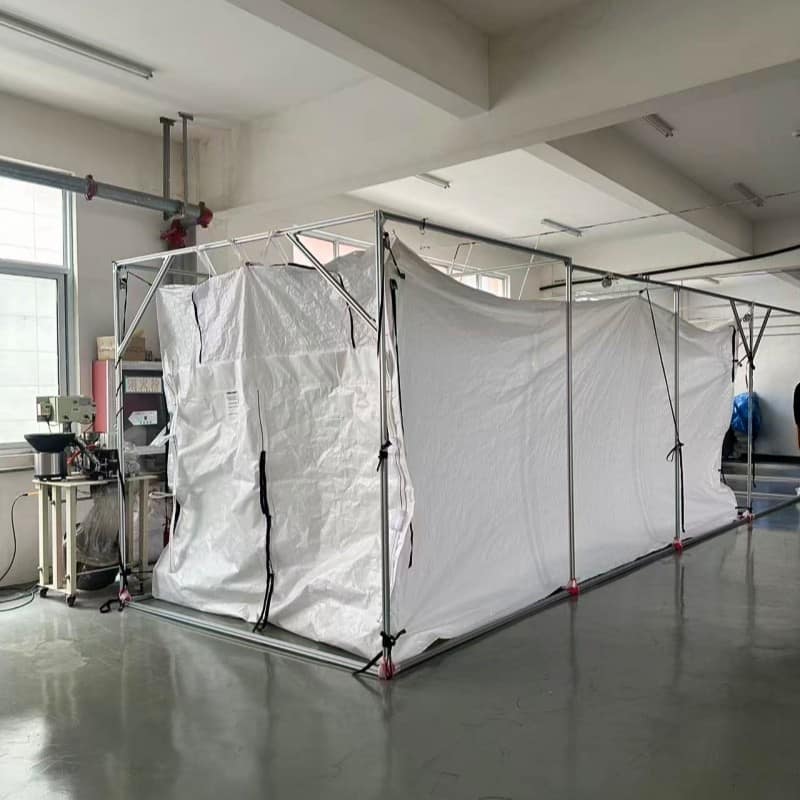
If you are loading a product with specific moisture sensitivity or one that requires post-loading treatment, confirming the spout seal integrity before the container doors close can save a contamination claim later. Reach out at [email protected] with your cargo specifications and we will confirm the right spout configuration for your material.
Adjusting Your Filling Spout Approach for Different Cargo Types
Not all cargo behaves the same way through a filling spout. The flow characteristics of the material determine how aggressively you can load and how you should manage spout tension and angle.
| Cargo Type | Flow Behavior | Spout Adjustment |
|---|---|---|
| Free-flowing granules (plastic pellets, grains, soybeans) | Fast, low friction, minimal bridging | Standard spout tension; maintain steady flow rate; watch for liner body rise near end of fill |
| Fine powders (cement, titanium dioxide, kaolin clay) | Slow, high dust generation, prone to packing | Use sift-proof spout seal; reduce initial flow speed; leave air relief gap on pneumatic systems; expect longer fill times |
| Flaky or irregular materials (crumb rubber, cocoa beans) | Bridging risk, inconsistent flow | Increase spout diameter if available; monitor for blockages at spout throat; may require vibration assist |
| Food-grade products (sugar, flour, malt) | Requires contamination control | Confirm spout material is food-grade certified; seal unused spouts completely; minimize spout handling to reduce fiber contamination risk |
| High-density minerals (silica, gypsum powder) | Heavy, abrasive, fast-settling | Reinforced spout seam preferred; reduce drop height where possible; avoid sudden flow stops that shock the spout fabric |
The spout material itself matters here. PE film spouts provide a smooth, low-friction surface that works well for free-flowing granules and food products. Woven PP or HDPE spouts with PU-taped seams are necessary for fine powders where zero leakage is non-negotiable. Matching the spout type to the cargo is not an upgrade; it is a baseline requirement for loading without losses.
The Most Common Filling Spout Mistakes and How to Avoid Them
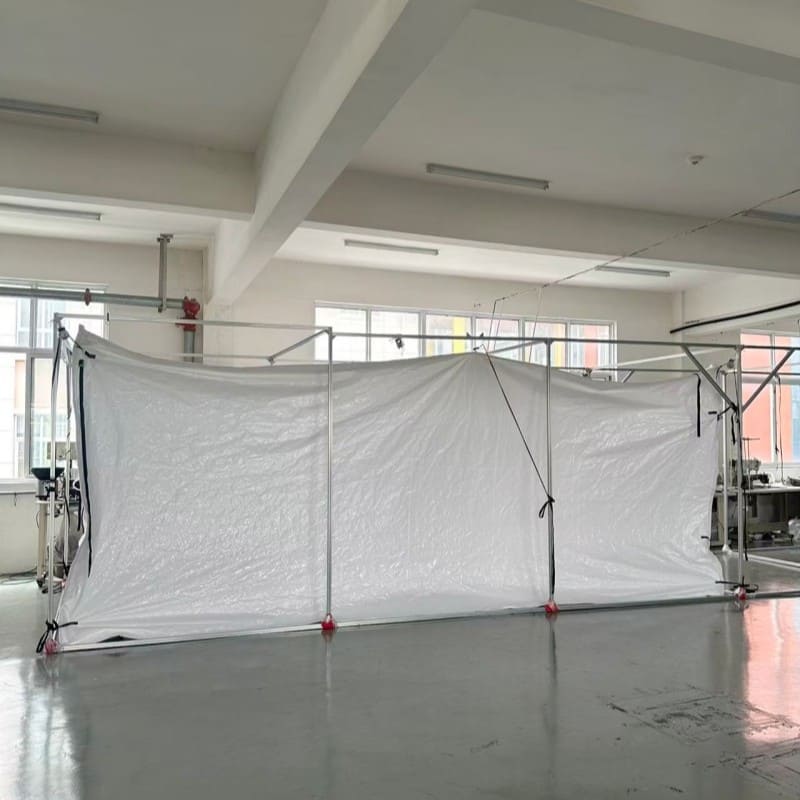
In the loading operations I have visited, a handful of mistakes account for the large majority of spout-related failures. Most of them are easy to fix once you know what to look for.
The first is clamping the filling pipe rigidly to the container structure. The pipe vibrates during loading, and if it is locked in place, every vibration transmits directly into the spout fabric. Over a twenty-minute fill cycle, that repeated micro-stress can fray woven spout fabric at the tie point. The filling pipe should be supported but allowed a small range of movement so the spout absorbs only product flow forces, not equipment vibration.
The second is ignoring spout angle as the liner fills. Operators often set the spout angle at the start and walk away. But as the liner body rises inside the container, the spout angle changes. By the time the container is three-quarters full, a spout that started at the correct angle may be running nearly flat, creating backpressure that stresses the spout throat and slows the fill rate. Someone needs to check the angle at least twice during a full container load — once at the halfway point and again near the end.
The third is reusing a liner with a damaged spout. I have seen operators tie off a torn spout and cut a new hole elsewhere in the liner body to create an improvised loading point. This voids any sift-proof or moisture barrier rating the liner originally carried and puts the entire load at risk. A replacement liner costs less than a rejected shipment.
The fourth is mismatching spout size to the filling equipment. A 25 cm spout forced over a 30 cm pipe will tear, if not during installation then during the first surge of product flow. Measure both the spout diameter and the pipe diameter before ordering liners, and if your operation uses different pipe sizes for different products, specify this when requesting liner samples so the manufacturer can provide the correct spout configuration.
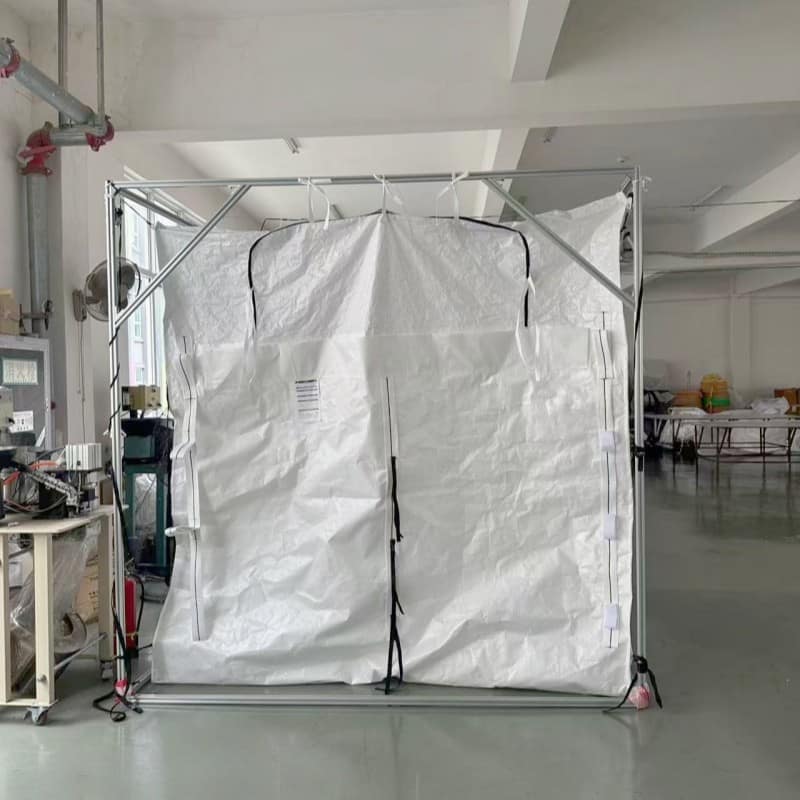
A damaged spout or a liner that cannot handle your loading setup turns a routine fill into a source of product loss and downtime. If your program involves high-volume loading or materials that are especially abrasive, it is worth confirming spout reinforcement options before finalizing your liner specification. Send your loading parameters and product type to [email protected] or call +86 523 87683880, and we will confirm the spout configuration that matches your equipment.
Common Questions About Container Liner Filling Spouts
Does the spout position change between 20ft and 40ft container liners?
The spout location on the liner body shifts depending on the container length, but the usage technique stays the same. On 20ft liners, the top loading spout is typically centered on the liner roof or positioned slightly toward the front wall. On 40ft liners, particularly those with single-point loading, the spout may be offset to account for the longer fill path. The key variable is not where the spout sits but whether the filling pipe can reach it without stretching or twisting the spout fabric. Before ordering, confirm the spout position against your loading bay layout so the pipe aligns naturally with the spout when the container is spotted.
Can I load through a bottom discharge spout instead of the top spout?
Some operations do this as a workaround when top access is obstructed, but it is not what bottom discharge spouts are designed for. Bottom spouts are built for gravity-assisted outflow, not for receiving product at pressure from a pneumatic or auger line. The spout angle is reversed, the seam construction is oriented for discharge stress rather than fill impact, and the risk of blowback or leakage is significantly higher. If top loading is not possible in your facility, discuss side-loading spout configurations with your liner manufacturer rather than repurposing the discharge port.
How do I know if my spout is secured tightly enough?
Most operators over-tighten, assuming more force equals more security. The real test is simpler than that: after fastening the spout to the filling pipe, pull gently downward on the spout fabric. It should not slide on the pipe, and the fastening should hold without visibly constricting the pipe opening. If you can pull the spout off by hand with moderate force, it is too loose for product flow pressure. If the fabric is stretched drum-tight around the pipe and the opening is narrowed, back it off slightly. A firm hold with visible slack in the fabric between the tie point and the pipe end is exactly where you want to be.
What is the single biggest cause of spout failure during loading?
Based on what I have seen across dozens of loading operations, it is starting product flow at full speed without letting the spout and liner settle into position first. The initial surge of material hits the spout throat and the liner body simultaneously. If the liner has not finished unfolding or the spout fabric has not stretched to working tension, that first shock can tear seams, snap tie cords, or blow the spout off the pipe entirely. A ten-second ramp-up to full flow rate is enough to prevent most of these failures.
Do I need different spout configurations for food-grade versus industrial cargo?
The loading technique is largely the same, but the spout material and certification matter. Food-grade liners use spout fabrics that meet FDA or LFGB standards and are manufactured in cleanroom conditions to prevent fiber or chemical contamination. For organic or high-purity food products, the spout may also require a covered cap rather than a simple tie-off to maintain the sealed environment after loading. If your cargo requires food-grade documentation, confirm that the spout material is included in the certification scope — some manufacturers certify the liner body but not the spout components. Share your certification requirements and we will confirm whether the spout materials on your specified liner meet the full compliance scope. Reach us at [email protected] to verify your liner’s certification coverage before ordering.
 English
  German
  Spanish