
Most container liner failures I have investigated over fifteen years in thermal packaging manufacturing did not originate from material defects. They started with something the installation team missed before the first bag of cargo entered the container. A protruding nail head, a loose wall panel, insufficient tie-down tension at the rear corners. These are small gaps between what the installation guide assumes and what the container actually presents. Installing the liner correctly means treating the container as the first inspection point and understanding that securing is not about holding the liner during loading. It is about holding it when twenty tons of bulk cargo shifts during ocean transit.
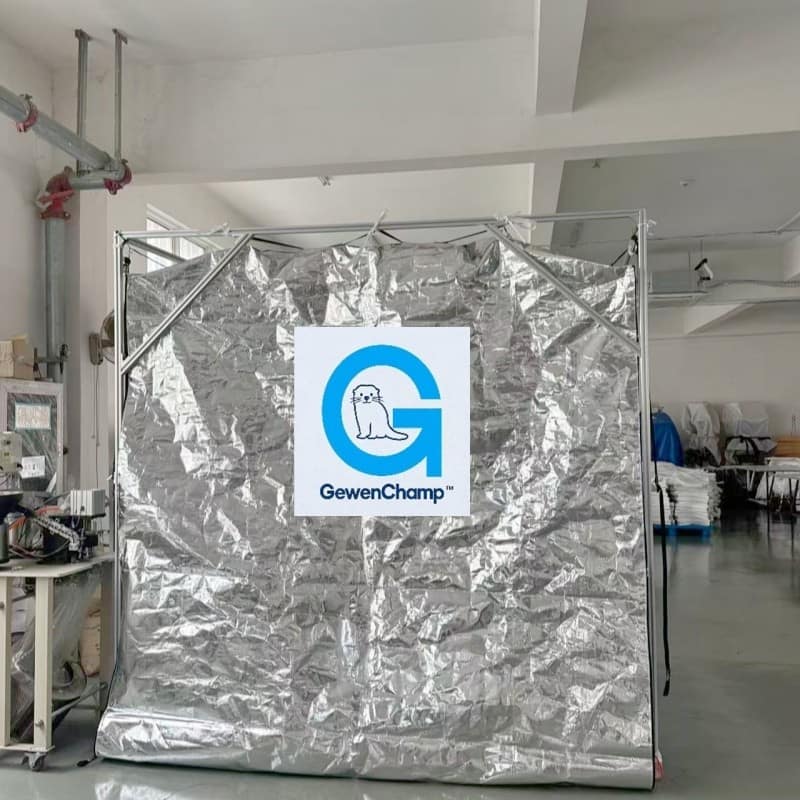
Pre-Installation Container Inspection Comes First
No liner performs reliably inside a container that has not been checked. I have seen liners tear within the first hour of loading because a floor nail protruded by less than three millimeters. The liner material stretches under load and finds every sharp edge.
Walk the full interior length with a flashlight. Check the floor for nail heads, splinters, and dents deeper than five millimeters. Pay particular attention to the rear two meters where forklift traffic concentrates and floor damage is most common. Run a gloved hand along all four lower wall channels. These channels collect debris during previous cargo operations, and a single metal shard trapped there will cut through PE film or woven fabric once tension is applied.
Check the ceiling and upper side rails. Loose panel fasteners and bent corrugations can snag the liner during unfolding or as it settles under load. Door hinge bolts protruding into the cargo space are a frequent problem on older containers. If the bolt extends more than ten millimeters, pad it or flag it for the loading supervisor. Do not assume the liner will clear it.
Container cleanliness matters as much as structural condition. Residual dust from a previous cement or mineral load will abrade the liner surface during transit vibration. Sweep thoroughly, then wipe down the lower walls if powder residue is visible. For food grade shipments, the container must be dry, odor free, and free of any prior chemical residue. A five minute inspection here prevents cargo rejection at the destination port.
If the container has significant rust scale, especially on the floor or lower side walls, the liner alone is not enough. Rust particles detach during transit and work between the liner and container wall, creating abrasion points. In these cases a thermal liner with an integrated PE aluminum foil outer layer provides an additional barrier. The foil layer resists abrasion better than uncoated woven fabric, and the insulation function adds temperature stability for cargoes sensitive to condensation.
Unfolding and Positioning the Liner Inside the Container
Container liners arrive folded on pallets. How they are handled before entering the container determines whether the installation starts clean or compromised. Drag a liner across rough ground or over a container threshold without protection and the outer surface picks up abrasion damage before it is even positioned.
Lay the folded liner on a clean tarp or pallet directly behind the container doors. Identify the top and bottom orientation before moving it inside. Most liners have printed markings indicating the loading spout location and the discharge end. Unfold the liner accordion style along the container floor, working from the rear toward the front wall. Do not pull the liner by its seams. Grip the body fabric and walk it forward.
Position the liner so that the anti slip base sits flat against the container floor with no folds or trapped air pockets. The base must cover the full floor width. If the liner base is narrower than the container floor, center it exactly. An off center base creates an uneven load path when bulk material presses against one side wall more than the other.
The top of the liner typically includes suspension loops or fixing points along the upper edges. Attach these to the container lashing rings or top rail points working from the front wall backward. Do not fully tension any single point until all attachment points are connected. Pulling one corner tight before the opposite side is anchored twists the liner body and creates stress concentrations at the seams.
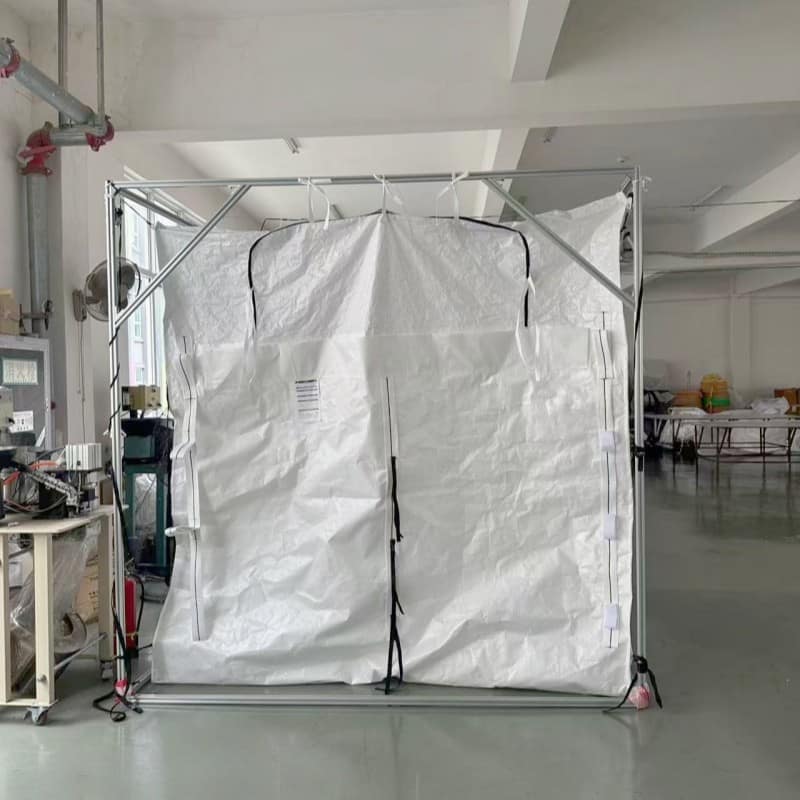
For thermal container liners with reflective foil layers, the installation sequence is the same but the material is less tolerant of dragging. Foil laminated surfaces crease permanently, and crease lines become thermal bridges. Handle thermal liners with two additional people if the liner weight exceeds thirty kilograms. The extra labor cost is minor compared to a liner with compromised insulation before the first kilogram of cargo is loaded.
Securing the Liner So It Survives Ocean Transit
Securing is the step where most installation failures originate, and the root cause is almost always undertensioning. A liner that looks secure when the container is stationary behaves differently when a ship rolls through a twelve degree swell with twenty five tons of bulk cargo pressing against it.
The fixing ropes or straps must attach to every provided tie down point on the liner. Skipping the middle tie downs because the front and rear points feel sufficient is a common error. Each tie down point distributes a portion of the total load. Removing one transfers its load to the adjacent points, often doubling the force they were designed to carry.
Tension each rope to remove all visible slack, then add one additional half turn on the tensioning mechanism. The liner material relaxes slightly after tensioning, and that extra half turn compensates for the initial stretch. For woven PE liners with a tensile strength in the 1,800 N per 5 cm range, the rope should feel firm but not guitar string tight. Overtensioning can pull seam stitching through the fabric.
| Liner Type | Recommended Tie-Down Points | Tension Guideline | Special Consideration |
|---|---|---|---|
| PE Film Liner (140 micron) | 6 to 8 points minimum | Remove slack, half-turn past firm | Film stretches under load; recheck after first 20% fill |
| Woven PP/HDPE Liner | 8 to 10 points | Firm tension, no visible sag | Less stretch than PE film; check rope knots for slippage |
| Thermal Woven Fabric Liner | Same as woven, plus 4 roof points | Moderate tension on roof, firm on walls | Roof points maintain insulation contact with container ceiling |
| EPE Foam Thermal Liner | All provided points, minimum 10 | Light to moderate | Foam compresses under overtension; maintain liner shape, not tightness |
The anti slip base must sit flat with no wrinkles. A folded edge under the base creates a pivot point. When cargo weight compresses the fold, the liner shifts laterally by a few centimeters. That shift pulls the tie down ropes unevenly, and the resulting slack on one side allows the liner to work against the container wall during transit.
If your shipment involves cargo that will be loaded pneumatically, the liner experiences a sudden pressure surge when the blower starts. The rear door area takes the highest impulse load. Double the tie down points at the rear three meters. This means using every available lashing ring on both side walls in that zone, not just the ones the liner manufacturer labeled. For a standard 20ft container with lashing rings spaced roughly one meter apart, that gives you six attachment points per side in the rear section.
Setting Up Loading and Discharge Access Correctly
The loading spout and discharge port are the only openings in an otherwise sealed barrier. If either is positioned incorrectly, the entire liner system fails at the point where cargo enters or exits.
For top loading liners, pull the filling spout through the top hatch of the container or position it at the rear door opening depending on your loading equipment. The spout must extend far enough outside the container that the loader nozzle can insert fully without contacting the liner body. A spout pulled too tight angles the loader nozzle against the spout wall, concentrating abrasive wear at one point during high speed loading.
Secure the spout to the container frame or loading platform independently. Do not let the weight of the loader hose hang from the spout fabric. A two meter length of flexible loading hose full of product can weigh over fifty kilograms. That weight pulling on a heat sealed spout seam will eventually separate the weld.
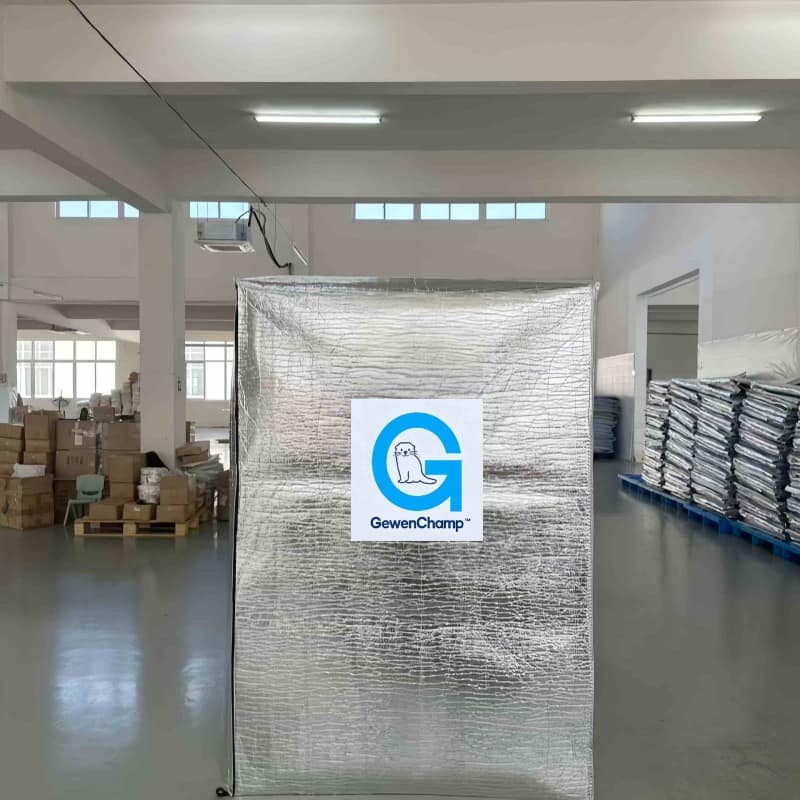
The discharge spout at the front end of the container must be accessible through the front wall or positioned so it can be reached from the side when the container is tilted during unloading. For containers without a front access hatch, route the discharge spout along the side wall and secure it at the door opening with a quick release tie. Mark the spout location clearly on the outside of the container door so the receiving team knows exactly where to find it.
Install the door bar or bulkhead after the liner is fully positioned and before any cargo enters. The door bar prevents the liner from bulging outward against the container doors during transit. A liner bulging against the doors transfers cargo pressure directly to the door locking mechanism. Container doors are designed to retain general cargo, not to withstand the hydraulic pressure effect of twenty tons of bulk material pushing against them through a flexible membrane.
For thermal liners in the GewenChamp TL series, the installation includes an additional step of checking that the reflective inner layer faces the cargo space. Installing a thermal liner inside out negates the radiant heat reflection property entirely. The shiny side always faces the cargo for heat reflection or faces outward to reflect external solar radiation, depending on the climate objective of the shipment. Confirm this orientation with the liner specification sheet before securing.
Final Verification Before Loading Begins
Walk through the container one more time before the loader positions. This verification pass takes three minutes and catches problems that are cheap to fix now and expensive to fix later.
Check every tie down rope for equal tension. Pluck each one. They should produce a similar tone and feel. One noticeably looser rope means that attachment point is carrying less load, and the load it shed has transferred to adjacent points.
Look at the liner floor for any folds, trapped debris, or areas where the anti slip base has lifted. Press down on each corner of the base. It should resist movement. If a corner slides, the container floor may have a low friction coating or residue. A small piece of anti slip mat under that corner solves the problem.
Verify the discharge spout is properly closed and secured. A discharge spout that opens during loading is a mess that costs hours to clean and can contaminate the cargo.
Check the door bar placement. It should contact the liner evenly across the full width with no gaps. Gaps concentrate pressure at the bar ends during transit and can dent or puncture the liner body at those points.
If your cargo requires documentation of the installation for quality assurance or insurance purposes, take clear photographs of the tiedown points, the door bar installation, and the spout positioning. These records are useful if a cargo claim arises and the installation quality is questioned.
Common Questions About Container Liner Installation
How long does a typical installation take for a 20ft container?
Two people working together can complete a standard dry bulk liner installation in ten to fifteen minutes. Thermal liners with multiple layers and roof attachment points take closer to twenty to twenty five minutes for the same team size. The pre installation container inspection adds another five to ten minutes. Rushing to save ten minutes on installation has led to cargo claims that cost weeks of correspondence and thousands of dollars in adjusted invoices. The time math favors doing it thoroughly.
Can the installation be done by one person?
For lightweight PE film liners under twenty kilograms, one experienced person can manage the installation. For woven liners over twenty five kilograms and all thermal liners, two people are the practical minimum. The risk with solo installation is not just physical strain. One person cannot tension opposite tie down points simultaneously, which means the liner is pulled out of square during the securing step. An out of square liner creates uneven load distribution that stresses seams and attachment points asymmetrically throughout the voyage.
What if the container has surface rust or minor wall damage?
Surface rust without scale flaking is generally acceptable for standard dry bulk liners if the container is swept clean. Rust scale that can be scraped off with a fingernail is a problem. The scale detaches during transit vibration and abrades the liner from the outside. For containers with significant rust or minor wall panel damage, a thermal liner with an integrated aluminum foil outer layer provides a more abrasion resistant barrier than uncoated woven fabric. If the container floor has holes or missing sections, the container itself is not seaworthy and liner installation should not proceed regardless of liner type.
Do different liner types require different installation procedures?
The core installation sequence is similar across liner types, but the handling requirements differ. PE film liners require gentler handling because the film punctures more easily during unfolding. Woven liners tolerate rougher handling but need more tie down points because the woven structure has less natural stretch to absorb cargo surge. Thermal liners with foam or bubble layers need careful tensioning because overtightening compresses the insulation layer and reduces thermal performance. Always follow the specific installation guide for the liner model you are using. Generic installation assumptions cause failures when applied to liners with different material properties.
How can I be sure the liner is properly secured before loading?
A properly secured liner shows no visible sag in any wall panel, produces consistent tension when each tie down rope is plucked, and has an anti slip base that does not shift when pressed firmly at each corner. If the liner moves visibly when you push against the side wall with moderate hand pressure, it is not sufficiently secured. The test is not whether it stays in place at rest. The test is whether the securing system can manage the dynamic load of bulk cargo in a seaway. If you are uncertain about the securing configuration for a specific cargo weight or container condition, confirming the tie down layout with the liner manufacturer before loading avoids problems that only become visible when the container is opened at destination. Share your cargo weight and container type with the technical team at [email protected] or call +86 523 87683880, and we will review the securing plan with you before your shipment departs.
 English
  German
  Spanish