
Improper container liner installation is the most common reason for cargo contamination and liner failure during transit. After 15 years of working directly with shipping operators and logistics managers, I have seen that failures are rarely a material defect; they almost always trace back to a missed adjustment during setup. This step-by-step guide covers the specific dimensional differences between 20ft and 40ft containers, the critical tensioning and securing techniques that prevent in-transit cargo shift, and the inspection steps many operators skip. When you get the installation right, you can expect consistent cargo protection and liner performance across multiple shipments.
Container Liner Pre-Installation Inspection
The container itself is the foundation. Even a brand-new dry bulk container liner will fail if the box has interior damage. Before unfolding anything, walk the container interior with a flashlight and a gloved hand. Look for nail heads, metal burrs, rust flakes, or deformed side panels. In field inspections, our team has identified hidden interior damage in a significant number of used containers — damage that would have punctured a liner once cargo weight pressed against the wall. Pay special attention to the door sill area and the lower corners; cargo exerts the highest lateral pressure there.
Check for residual odors or chemical residues if a previous load could taint your product. For food-grade shipments, a simple white-glove wipe test across the walls and floor reveals invisible dust or oil that can migrate through the liner. Sweep the floor clean, and if the container has strong smells, ventilate it for at least 30 minutes. The floor should be completely dry before installation. Condensation trapped between the floor and liner will work its way into your cargo over a multi-week voyage.
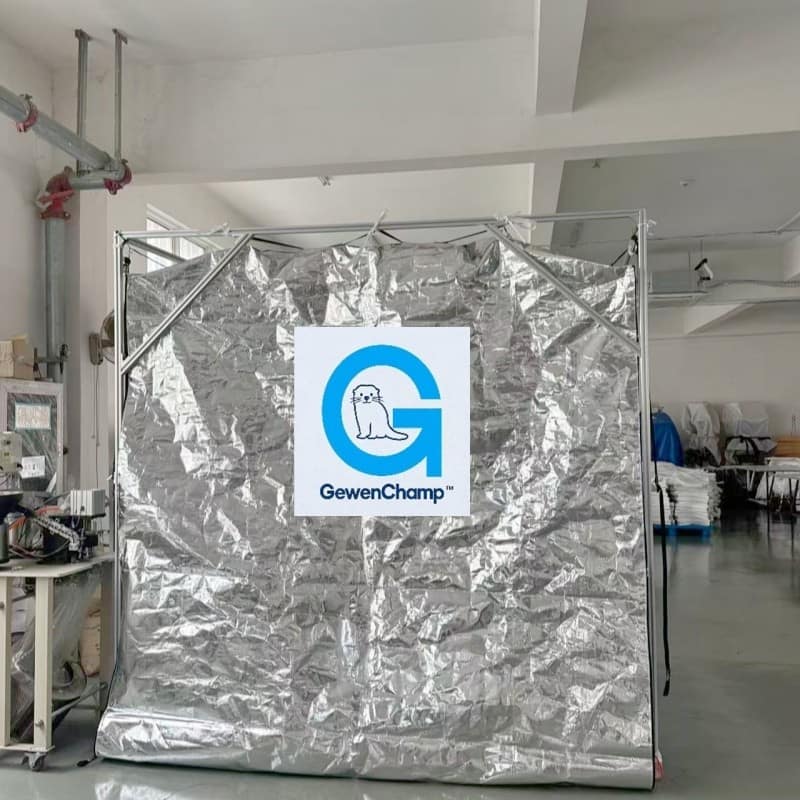
Installing the Container Liner in a 20ft Container
Unfolding and Positioning the Liner
- Lay the folded liner on the container floor near the front wall, with the manufacturer’s labels facing up. Orient the front of the liner toward the front of the container.
- Unfold the liner along the floor toward the door. For a 20ft container, the liner should stop roughly 30 cm from the door corners to allow the doors to close without pinching the liner fabric.
- Spread the liner side panels outward so the walls begin to take shape. Check that all lifting loops and side straps are untangled and accessible.
Securing the Liner to Container Walls
- Attach the top hanging loops or eyelets to the container’s internal lashing rings. Start at the front wall and work toward the door, keeping the liner centered.
- Tension each strap evenly. Pulling one side tighter than the other will pull the liner off-center, creating folds along the floor that trap cargo and make discharge uneven. Our standard woven PE container liners use labeled tension points to simplify this, but the principle holds for any liner.
- Verify vertical alignment: the side walls should hang straight without sagging pockets. If a fold persists, release the nearest straps, smooth the liner, and re-tension.
Aligning the Filling and Discharge Spouts
- Position the top filling spout directly under your loading chute or pneumatic fill line. For 20ft liners, a single forward loading spout is common, but multi-spout configurations exist. Always check your specific liner’s spout arrangement.
- Center the bottom discharge spout at the rear door opening. Secure it so it stays clear of the door hinges and latch mechanism.
- Open and re-close each spout tie to confirm the closure mechanism works before any product goes in. A stuck spout after loading becomes a time-consuming, messy problem.
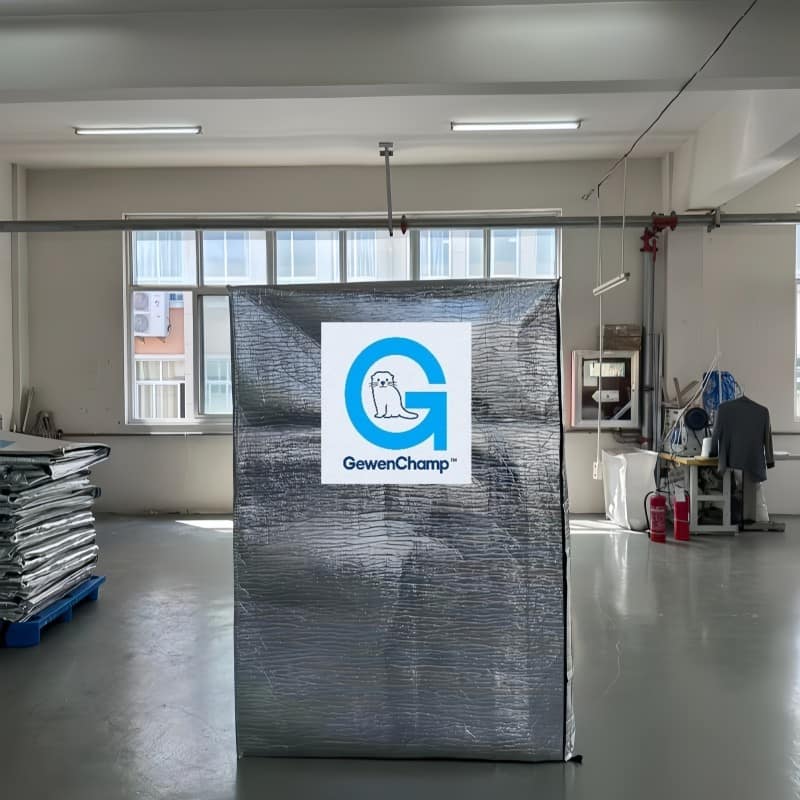
Adjusting Installation for 40ft Containers
A 40ft container is not simply a longer version of a 20ft — the extra length changes the structural dynamics of the liner installation.
Additional Tie-Down Points
A 20ft liner typically uses 6 to 8 attachment points along the top rail, while a 40ft liner requires at least 8 to 10 to maintain wall tension across the longer span. Use every available lashing ring, and verify that no single strap bears a disproportionate load. The center region of a 40ft liner carries the most strain during transport because it has the least support from the end walls.
Managing Liner Sag in 40ft Containers
The longer span causes the liner’s own fabric weight to pull the side walls downward, forming a sag in the middle. This sag reduces usable cargo volume and forces the product to load unevenly. If your liner has a central suspension loop or additional mid-point eyelets, secure them to the container roof bow or top rail. This single step, often overlooked, keeps the walls vertical and flattens the floor surface for even loading.
Double-Door Container Considerations
Some 40ft containers have doors at both ends. In these units, the liner’s orientation matters. If you plan to load from one end and discharge from the other, confirm that the loading spout and the discharge spout are placed correctly for your workflow. Standard liners assume a single door end, so consult the liner specification sheet if your container has two sets of doors.
Securing and Loading the Container Liner
Final Tensioning Checks
After the liner has been hanging for 10 minutes, recheck all strap tensions. The woven PE or LDPE film relaxes slightly under its own weight, so straps that were tight initially may have developed slack. Take up any slack and re-center the liner if it has drifted. For PE film container liners, pay close attention to the bottom corners; film has more stretch than woven fabric and can creep under sustained tension.
Loading the Cargo
Begin loading at a slow flow rate until the liner expands against the container walls and fills the lower corners fully. Once the liner is pressed firmly against the walls, increase to full rate. I recommend having a second person watch the liner from outside during the first few minutes of fill — especially on the first use of a new liner type. Sudden surges of product can slide the liner floor, tear a seam, or dislodge a strap before the cargo weight locks everything in place.
If your loading process differs from standard pneumatic filling — for example, auger loading for grains or dense minerals — it is worth confirming spout compatibility and liner seam strength before finalizing your BOM. Reach out at [email protected].
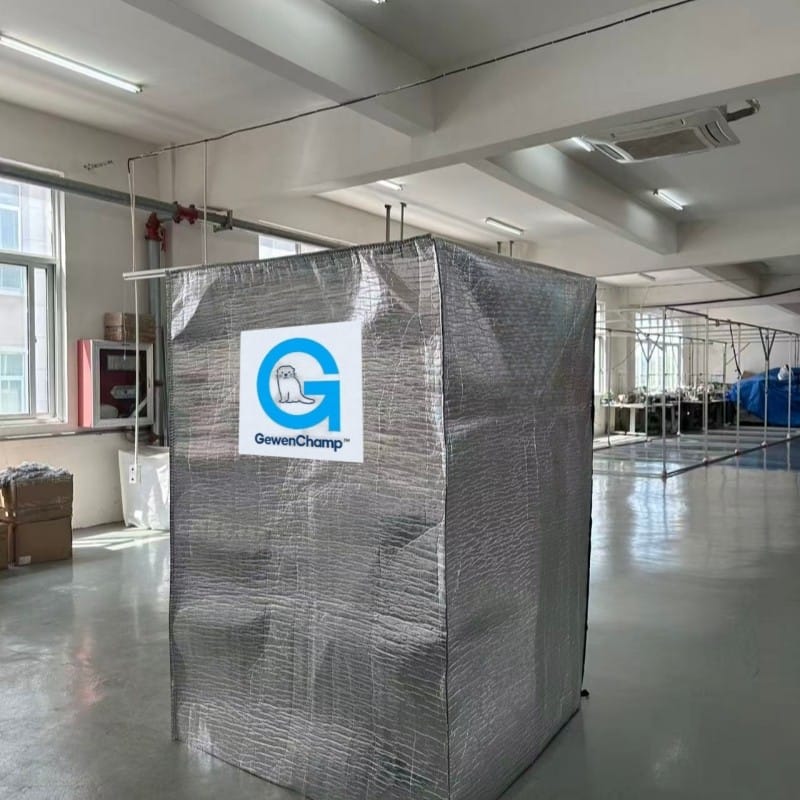
Common Container Liner Installation Mistakes
Unequal Strap Tension
Uneven strap tension is the most frequent cause of seam tears. When one side of the liner pulls tighter than the other, the load shifts toward the tight side during transit, creating stress concentrations along the seams. Use a simple hand-tension check: pluck each strap lightly with your fingers. Straps under similar tension produce a similar note. If one strap sounds noticeably different, equalize the tension.
Ignoring Container Interior Damage
Many operators dismiss a small dent or rust spot as harmless, but a minor protrusion concentrates cargo pressure onto a single point on the liner fabric. Even a burr the size of a fingernail can cut through a liner under a 20-ton load. Run a gloved hand over every interior surface; any snag is a failure point. If the defect cannot be repaired, place a heavy cardboard sheet or a piece of scrap plywood between the wall and the liner at that location. Better yet, reject the container and request a clean unit.
Incorrect Spout Alignment
Misaligned spouts cause loading bottlenecks, dust leakage, and discharge difficulties. Always simulate the connection between the spout and your loading equipment before any product moves. The spout should hang vertically, free of twists. For bottom discharge liners, confirm the spout swings through the door opening without interference from door seal gaskets or hinges.
Overfilling Without Monitoring Liner Position
Overfilling causes the liner to bulge against the container doors. When the doors are opened at destination, the pressure can eject cargo or burst the liner. Stop filling when the product level reaches 30–40 cm below the top of the door opening. This margin allows the cargo to settle without pressing against the doors, and it leaves room for the liner to expand under vibration during transit.
Protect Every Load with Proper Installation Support
A correctly installed container liner is the difference between a damage-free delivery and a rejected shipment. When you invest in quality liners from Giant Flexpack, you also gain access to the installation knowledge and after-sales support that ensure they perform as intended. Whether you are loading PE resin, titanium dioxide, cocoa beans, or any other dry bulk commodity, our team can guide you through the right installation procedure for your specific container type and cargo.
Send your container size, cargo type, and any special loading requirements to [email protected] or call us at +86 523 87683880 for immediate assistance.
Common Questions About Container Liner Installation
Do I need different liners for 20ft and 40ft containers?
Yes, liners are sized specifically. A 20ft liner will not fully cover a 40ft container, and a 40ft liner will have excess material that sags dangerously in a 20ft box. Additionally, the strap configuration and spout placement may differ between sizes. Always confirm the liner part number matches your container length before installation.
How long does installation take?
A two-person team can install a standard dry bulk container liner in 10–15 minutes for a 20ft container and 15–20 minutes for a 40ft container, assuming the container is clean and undamaged. Our labeled strap systems on woven PE liners help new operators work faster, but the first few installations always take a little longer as the team learns the tensioning sequence.
Can I reuse a container liner after a trip?
It depends on the liner material and the cargo. Thermal insulation liners such as the TL-01 woven thermal fabric liner are engineered for 3–5 uses if they remain structurally sound and uncontaminated. Standard dry bulk liners are typically single-use; their thin PE film or woven fabric can fatigue after one load cycle, and food-grade regulations often prohibit reuse. Inspect for tears, seam separation, and residue before considering reuse.
Many operators assume a small dent is harmless. Is that true?
That assumption is one of the most costly mistakes I see. Even a minor interior protrusion concentrates up to 20 tons of cargo pressure onto a pinhead-sized area of the liner fabric. A burr that barely catches a glove will rip a liner open within hours of loading. Always treat any interior imperfection as a potential failure point and protect the liner accordingly.
Do my staff need special training to install container liners?
From our support calls across dozens of shipping operations, the real challenge is not the physical job — it is understanding how tensioning, strap placement, and spout alignment interact during the first few attempts. No regulatory certification is required, but every operator should read the liner’s instruction sheet and practice at least one supervised installation. For high-volume operations, Giant Flexpack provides installation training materials and virtual walk-through sessions. Share your container specs at [email protected] and we will help you build a reliable installation procedure.
 English
  German
  Spanish